Single Sign-on with ADFS and SAML
Step 1 - Adding a Relying Party Trust
At this point you should be ready to set up the ADFS connection with your Passworks account. The connection between ADFS and Passworks is defined using a Relying Party Trust (RPT).
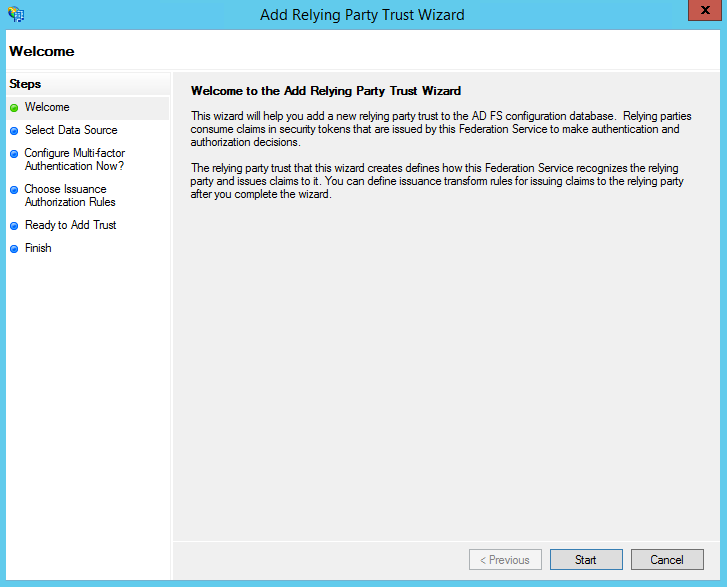
Select the Relying Party Trusts folder from AD FS Management, and add a new Standard Relying Party Trust from the Actions sidebar. This starts the configuration wizard for a new trust.
-
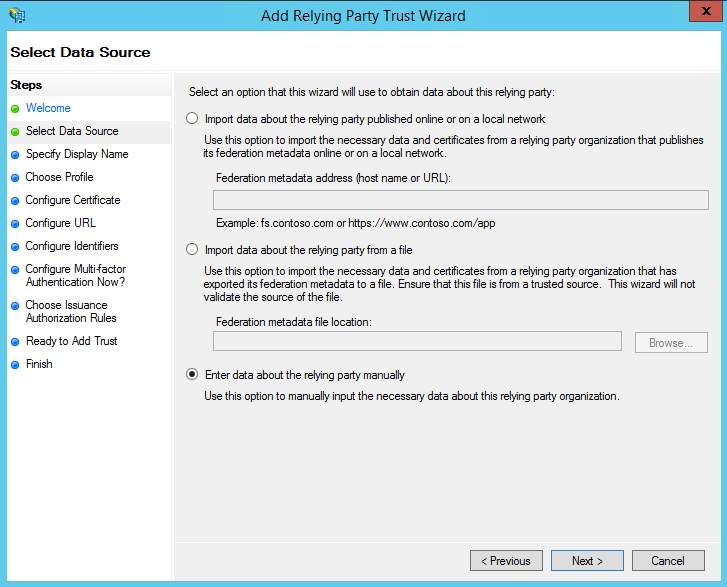
In the Select Data Source screen, select the last option, Enter Data About the Party Manually.
-
On the next screen, enter a Display name that you'll recognize in the future, and any notes you want to make.

-
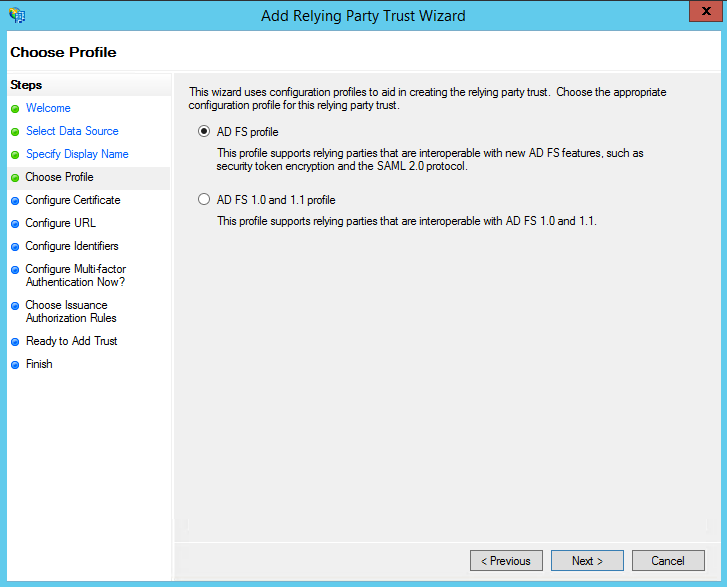
On the next screen, select the ADFS FS profile radio button.
-
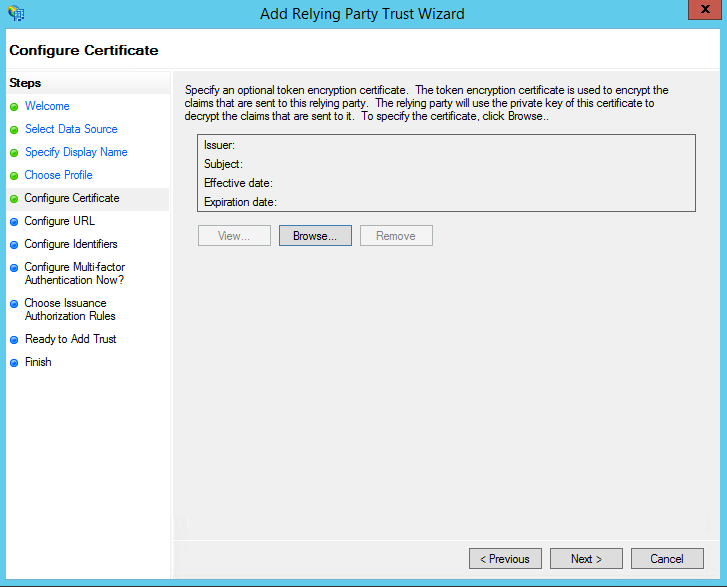
On the next screen, leave the certificate settings at their defaults.
-
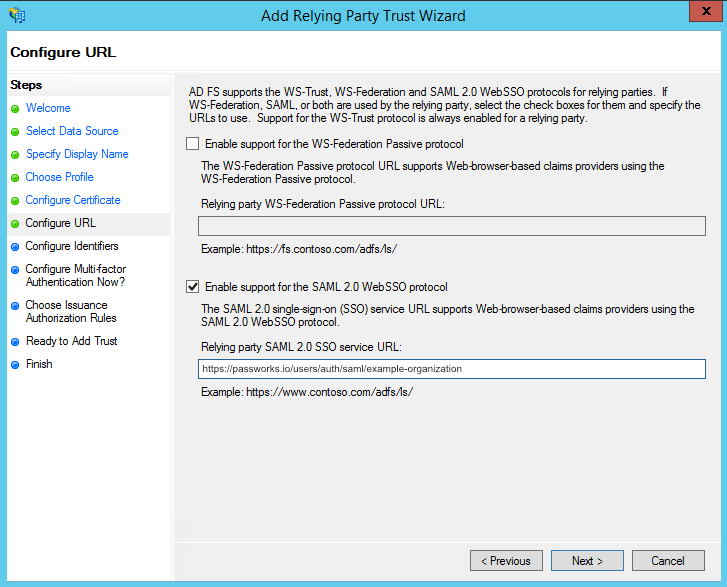
On the next screen, check the box labeled Enable Support for the SAML 2.0 WebSSO protocol. The service URL will be https://passworks.io/users/auth/saml/company-name replace the previous URL with the one the Passworks wizard provided you. Note that there's no trailing slash at the end of the URL.
-
On the next screen, add a Relying party trust identifier of passworks.io.
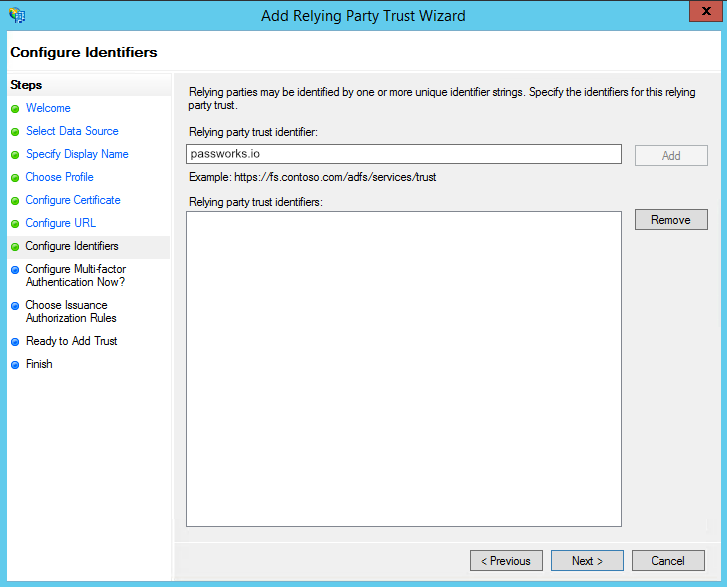
Note: If you enter passworks.io, and receive a request failure error, you may need to enter your subdomain as https://passworks.io .
-
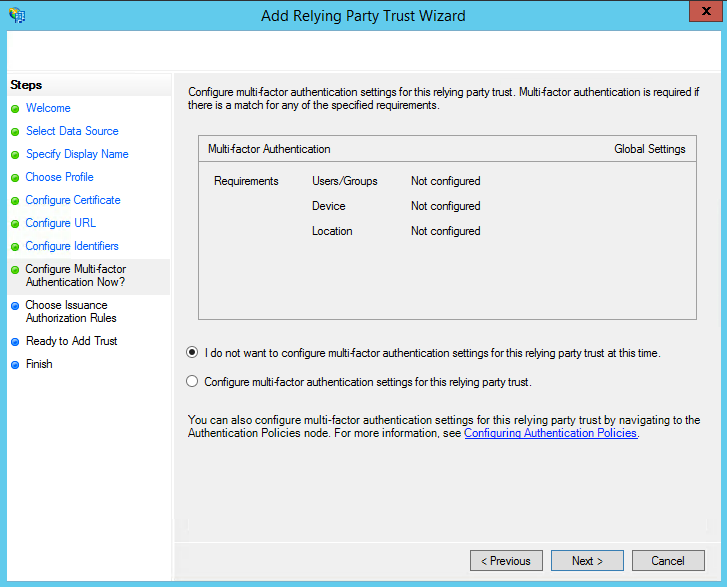
On the next screen, you may configure multi-factor authentication but this is beyond the scope of this guide.
-
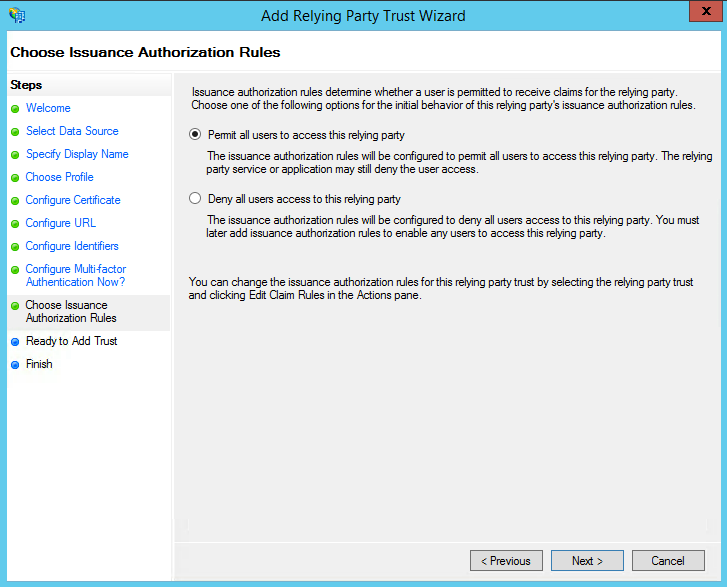
On the next screen, select the Permit all users to access this relying party radio button.
-
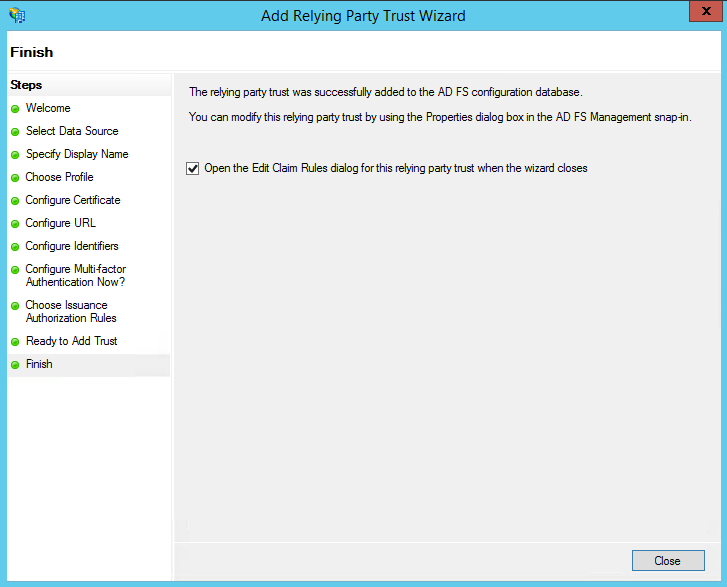
On the next two screens, the wizard will display an overview of your settings. On the final screen use the Close button to exit and open the Claim Rules editor.