Creating and managing passes using CSV file
Don’t you love to receive personalized content, specifically with your name? Well, here is a tip to generate customized mobile passes per user, by putting into good use your CRM data base and by distributing your passes using a CSV file.
1. Create your campaign
- Select the type of pass of your choosing in the section
create template - Define the template according to your brand look & feel and go to
Create Campaign
2. Define the pass content
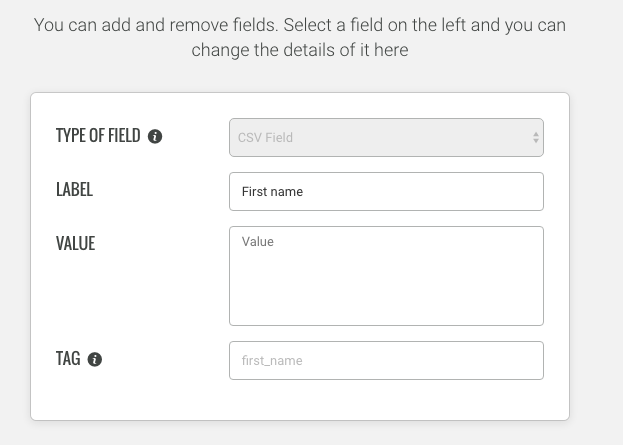
In the section “Pass Content”, you need to define the type of field:
-
Select
CSV Customif you want these fields to be personalized, meaning the value is different for each pass (eg. client name). By defining CSV Custom type of fields, when you update the pass, these fields will remain personalized with the original content. -
Then, you need to define the value of the
Tag. The tag needs to be equal to the label content. Ex: Label is: First Name then the tag will be: firstname
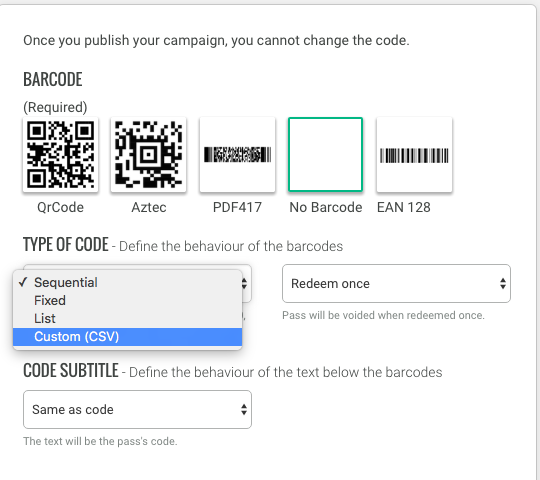
- If you decide to upload your own codes for the barcode, in the
type of codeyou need to chooseCustom (CSV)
3. Uploading the CSV file
Once your campaign has been published, you can see the main characteristics regarding your campaign such as the weblink to share your pass, the statistics and the main action buttons, among other features.
-
Select
Deliver via Email & SMS. This will send you to a new page for you to define your SMS/Email distribution settings. -
Click on
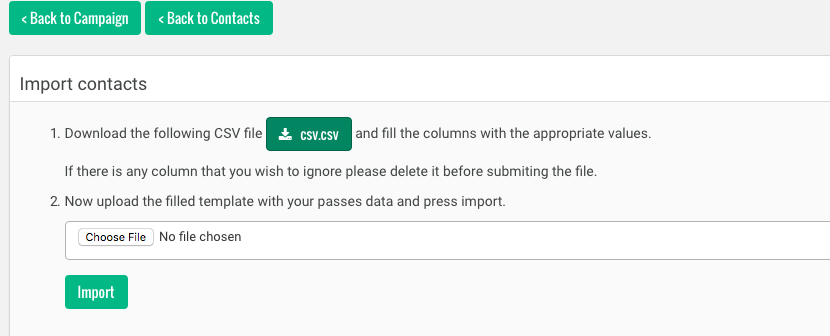
Contact Listand selectImport -
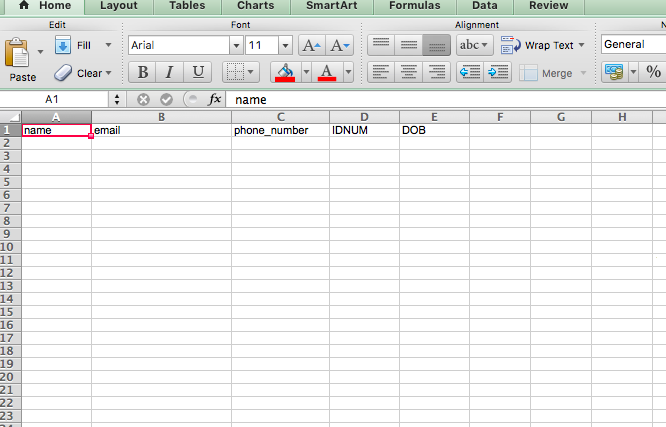
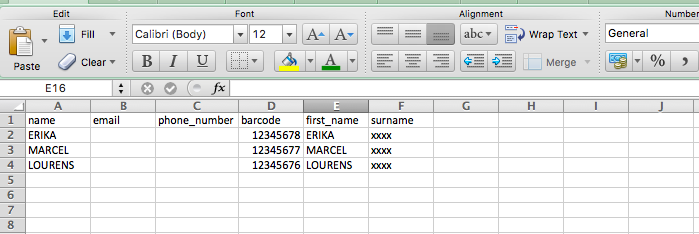
Download the CSV File. When you open the file, you will have the default tags appearing and the ones you defined on the Pass Content section.
- Insert your content. Make sure you do not have HTML code, links, spaces, empty columns
- Save the file as CSV and back to the Passworks Platform select
Chose fileand select your CSV file. - The platform is going to start doing the import of the contact and your information will be displayed.
4. Distribution
You have the possibility to send the passes by email via Passworks or just to send the passes directly to you.
4.1 - Send the information directly to your email: the platform will send you a CSV file with the fields you selected
- Click on
contact list - Select
Export -
The fields you want to choose typically are:
barcodeif you have customized the barcodes, your CSV fields (in this exemple, we havefirst nameandsurname, thepage urlwhich is the link of the pass and theemail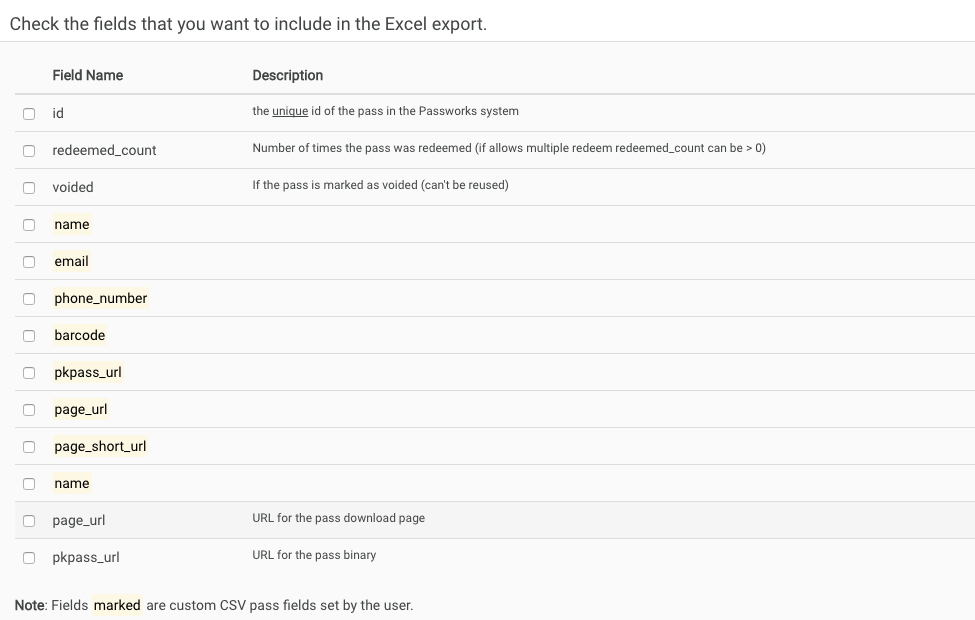
- Click on
Export and send it
4.2 - Distribution via Passworks platform: this option enables you to create the template directly on the Passworks platform and send the mail with the custom mobile coupon directly to your customers.
- Select
Template - Choose
email template - Create your template with the custom fields you want to insert in the mail
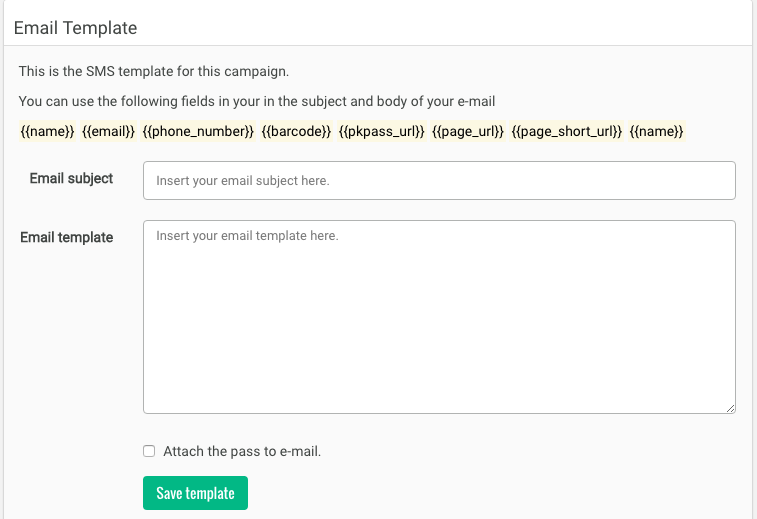
- Click on
save template - Select
Send. You are ready to send your email to your clients with the customized mobile coupon!