Android Pay for Resellers
Remember, the Android Pay passes creation is a beta feature, so many small features related to it may not be fully available yet.
We’re constantly improving the integration with Android Pay, specially the creation flow. So, if you find anything that is not working as expected, please let us know.
If you are willing to serve Android Pay along with your Apple Wallet mobile passes, you first have to follow these steps in order to set up your credentials and platform settings.
Even at Google the Android Pay service is in a kind of experimental period. The documentation has significantly changed since we start the integration and you, as a merchant, must get in contact with their support in order to enable it for you account.
Register as a Android Pay Merchant
The first step is to navigate to https://developers.google.com/save-to-android-pay/ and do the sign-up for the service.
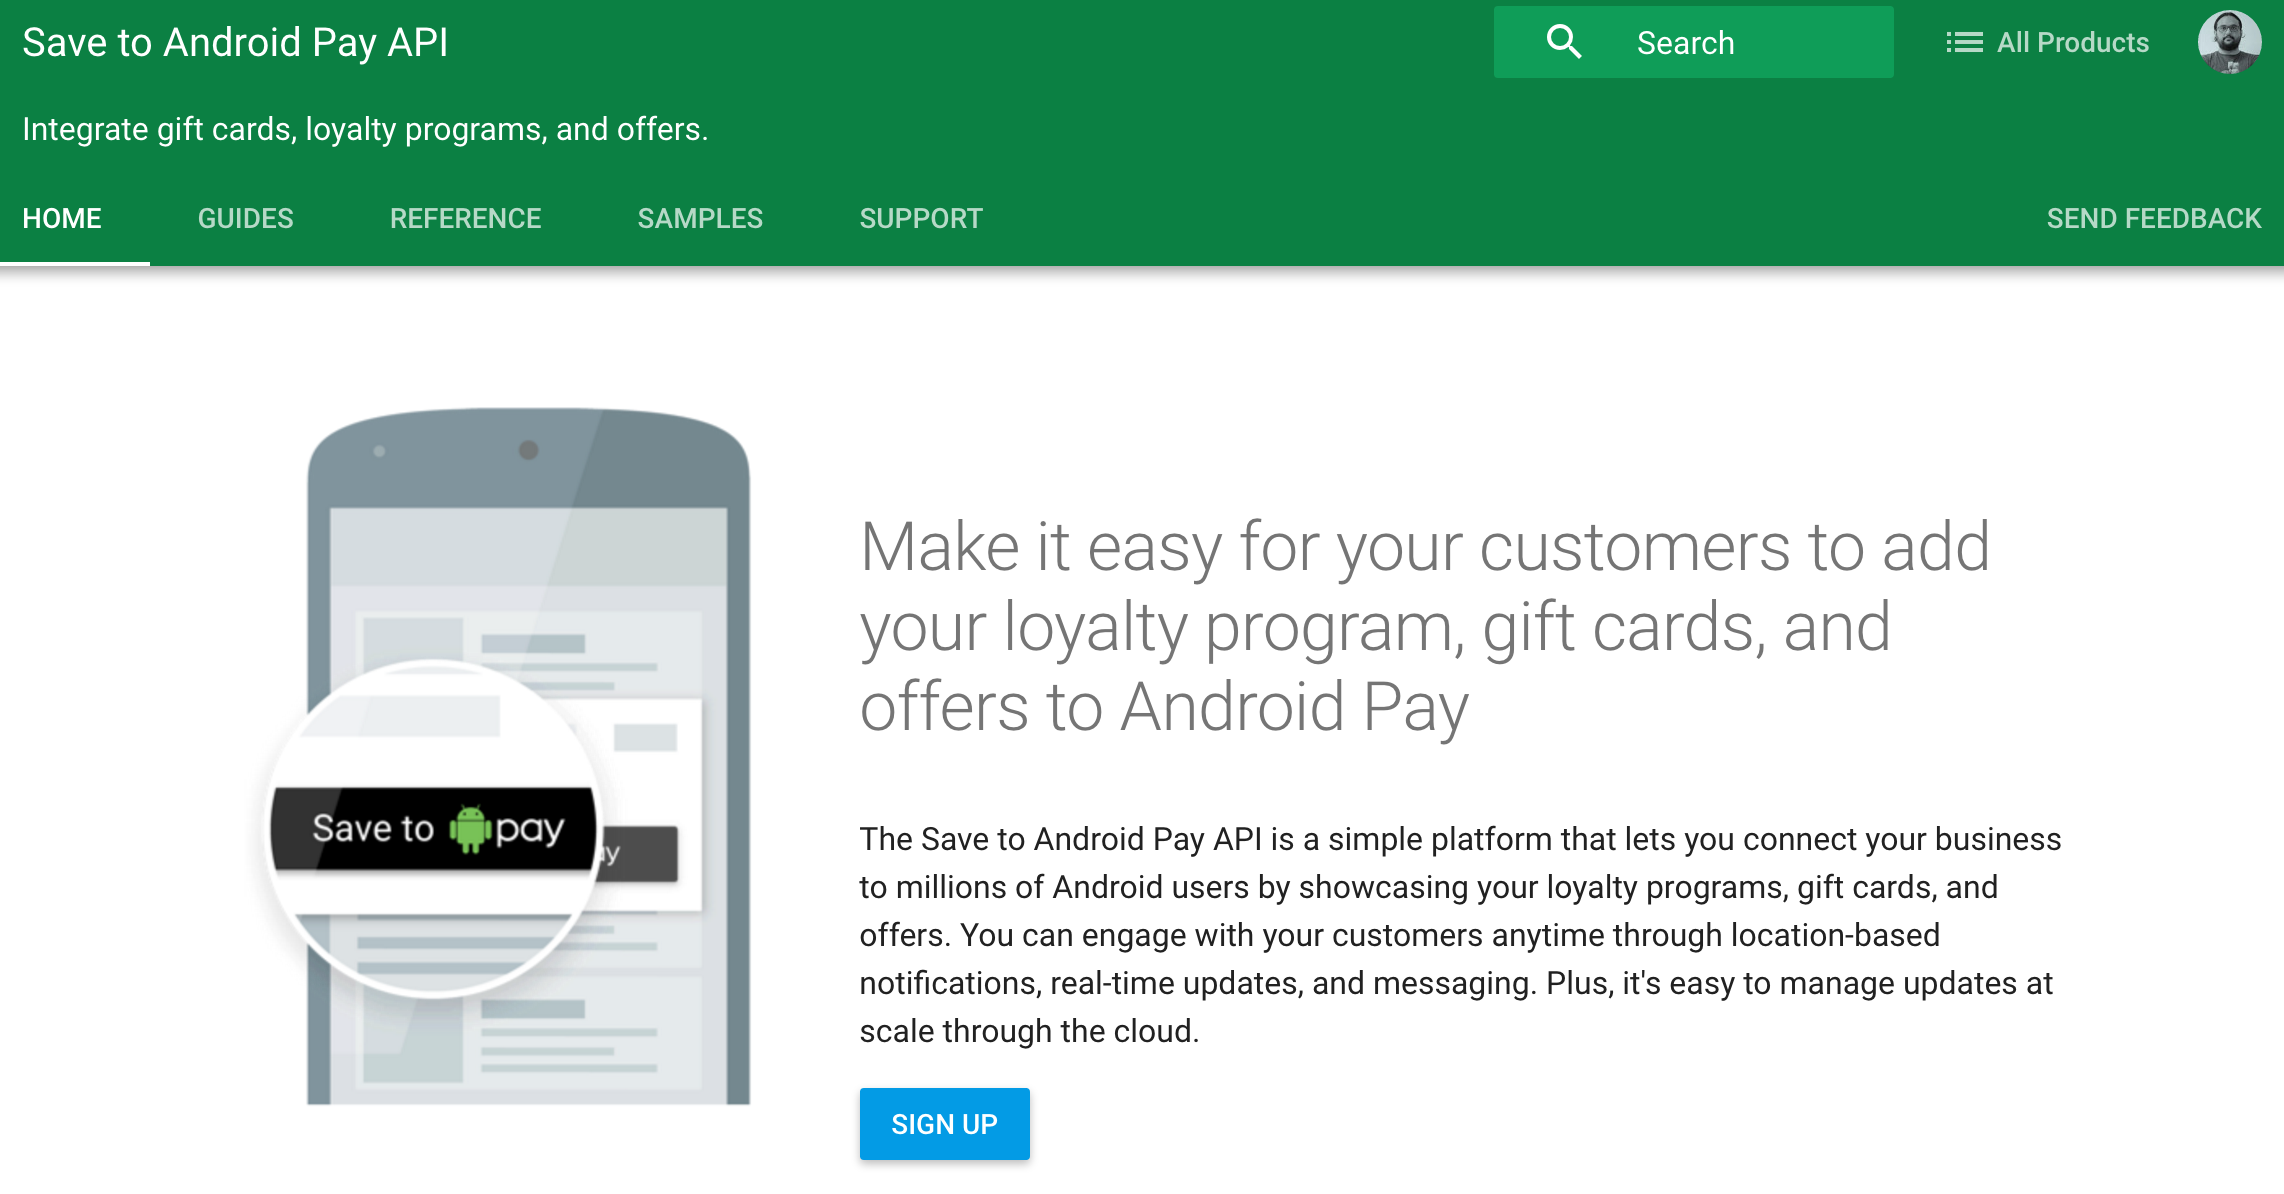 Figure 1 - Signup for the AP service
Fill the Interest Form
Then fill the interest form with your personal and merchant’s information.
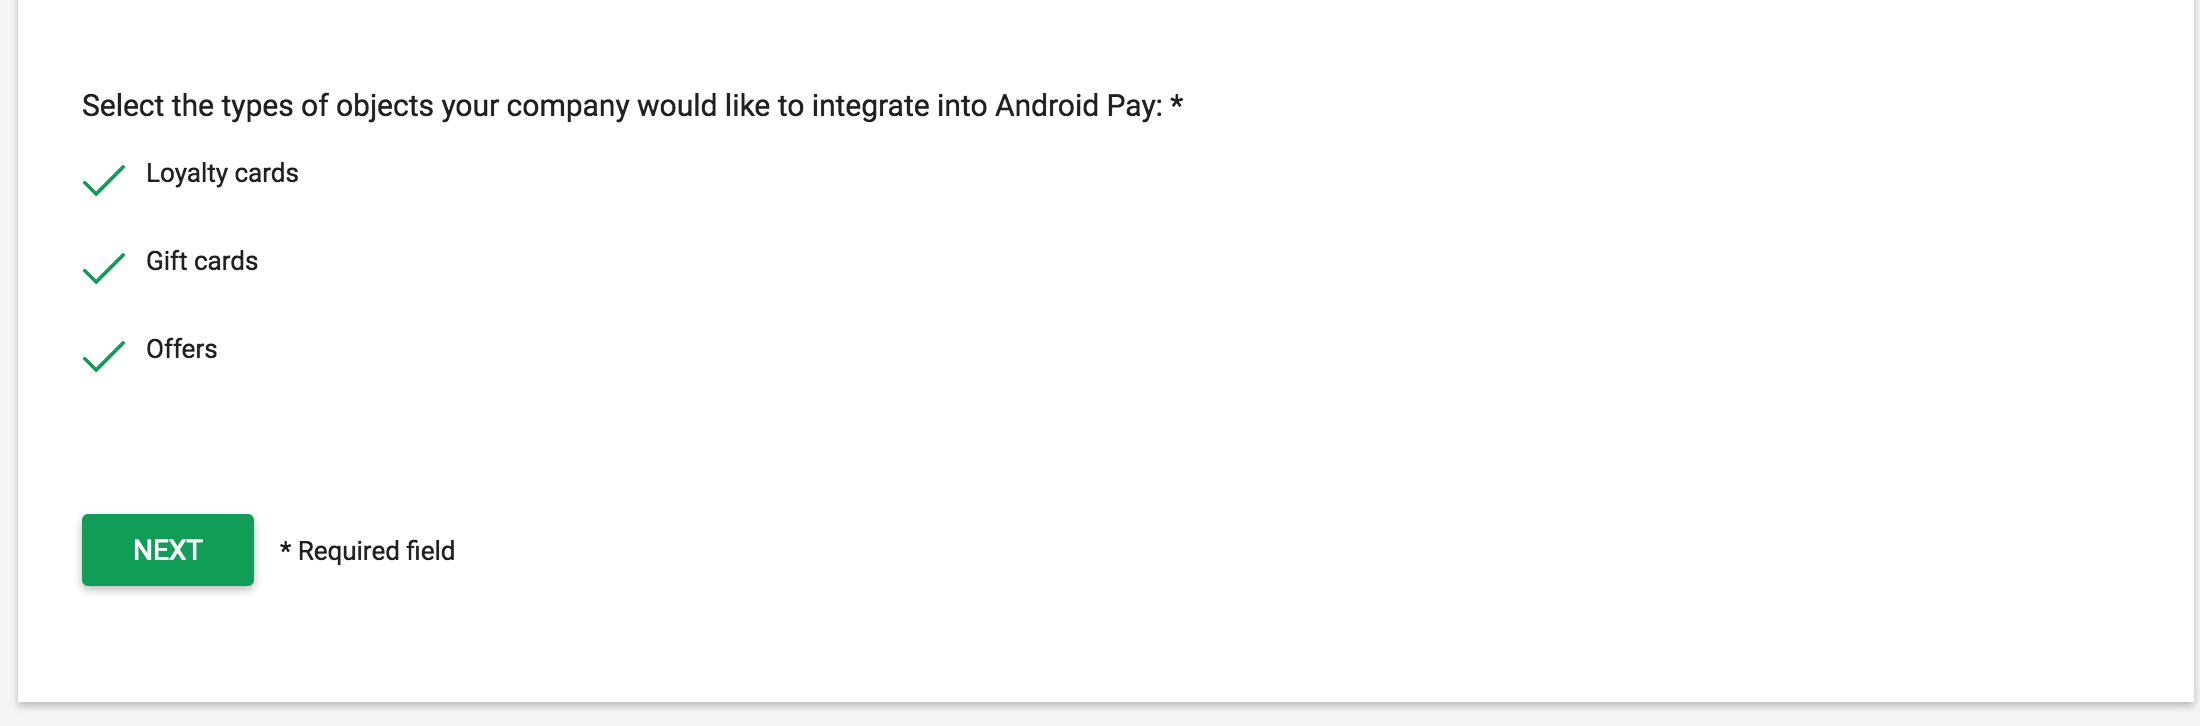 Figure 2 - Interest form
Remember to check the options for all kind os passes
Receiving the confirmation
After submitting the form, you’re going to be contacted by someone from Google in order to finish the habilitation for the service.
At the end of the conversation, they will tell you that your account already has support for the service and inform the ISSUER_ID and a short documentation on how to enable it.
Attention: This step is not automatic. It may take several days untill Google personal get in contact and enable the support for yor account
Enable the Wallet API
Since the Google Wallet Objects is now supported by your account. Navigate to the API Console and search for the Wallet Objects API
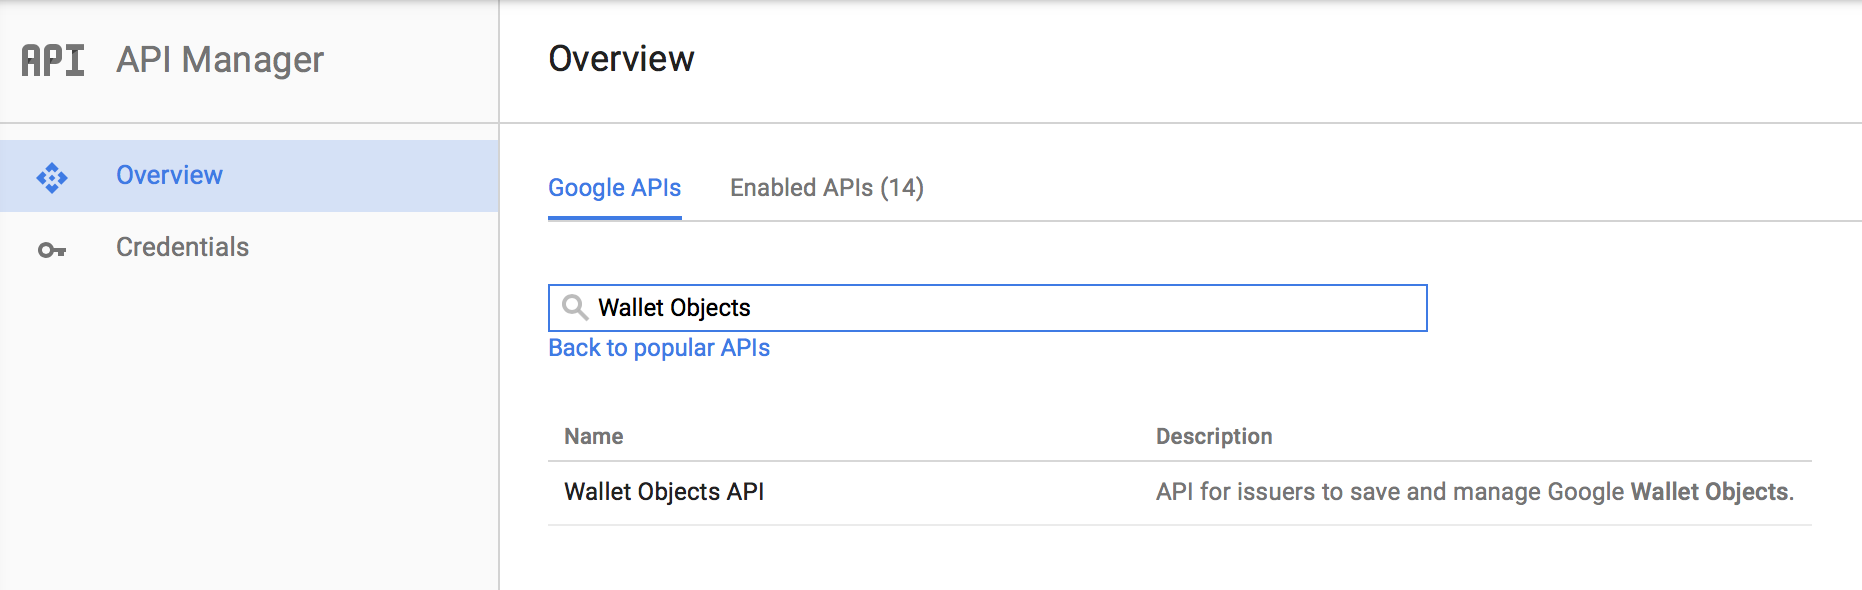 Figure 3 - Find for the service
Then, at the details, click on the button that enables it:
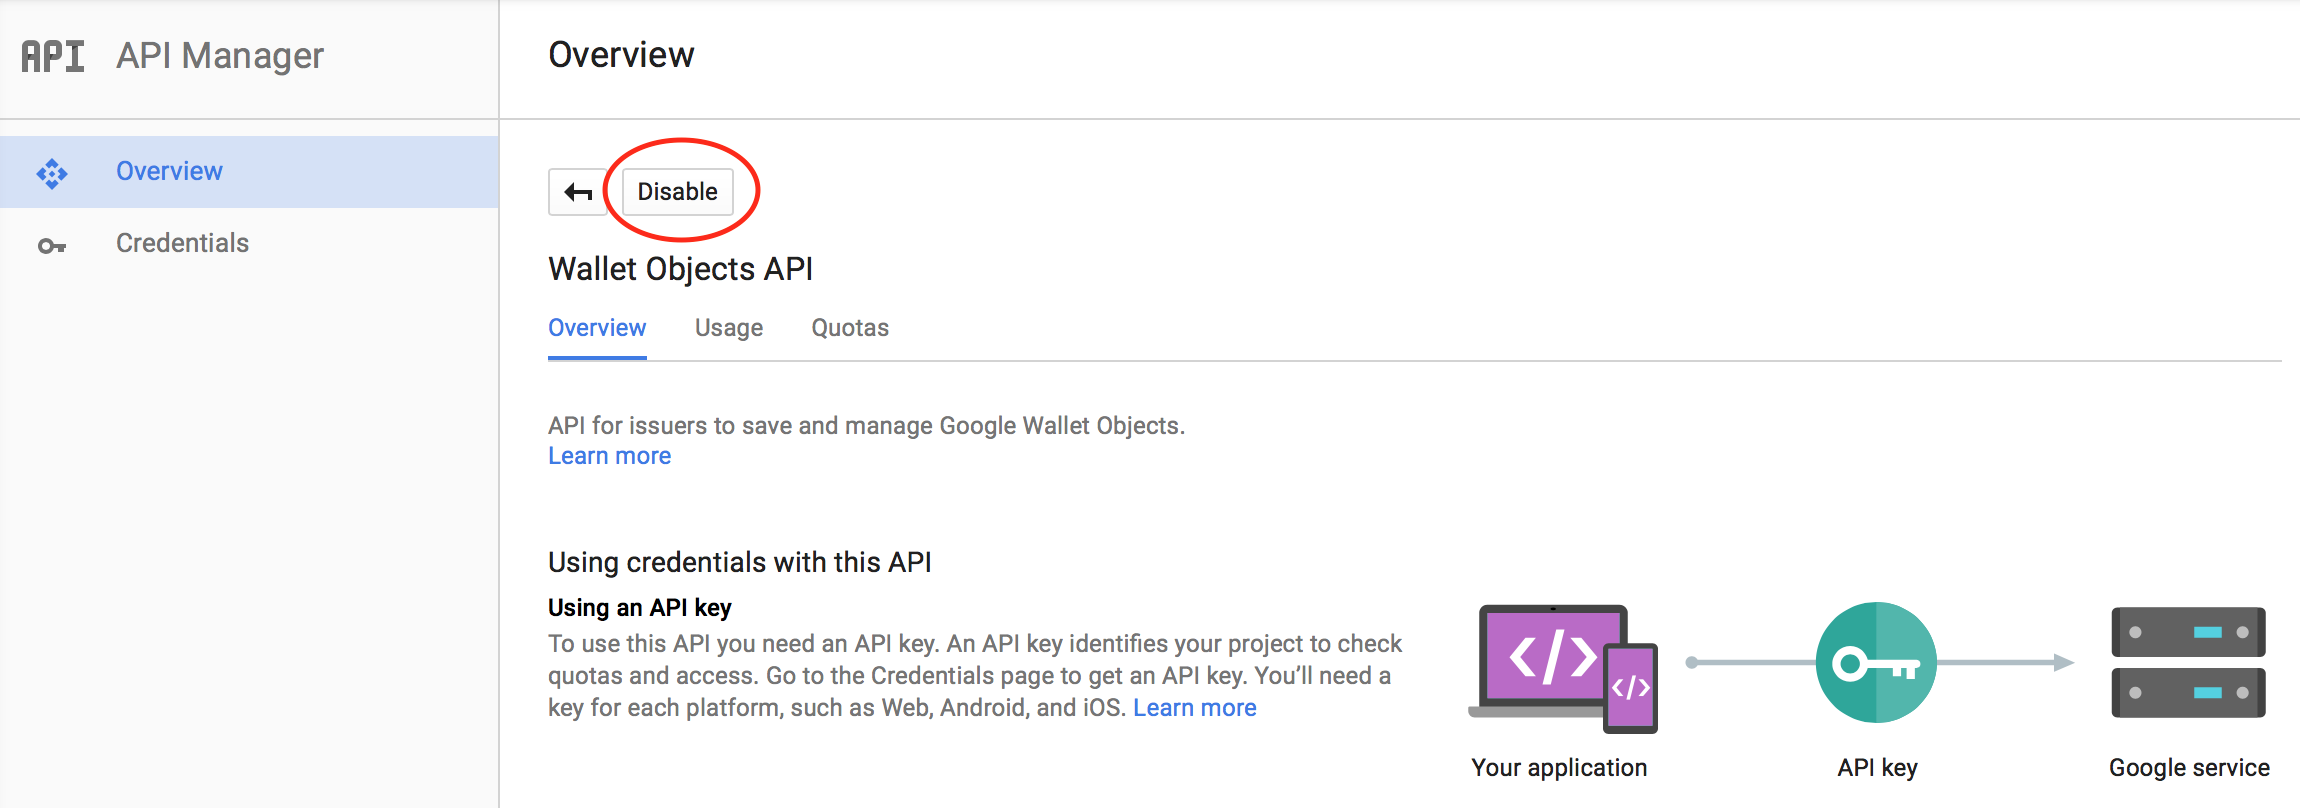 Figure 4 - Enable the service
For now on, the service is officially activated for your account
Create the Service Account Key
Go to the Credentials tab, click the button Create Credentials and then choose Service account key
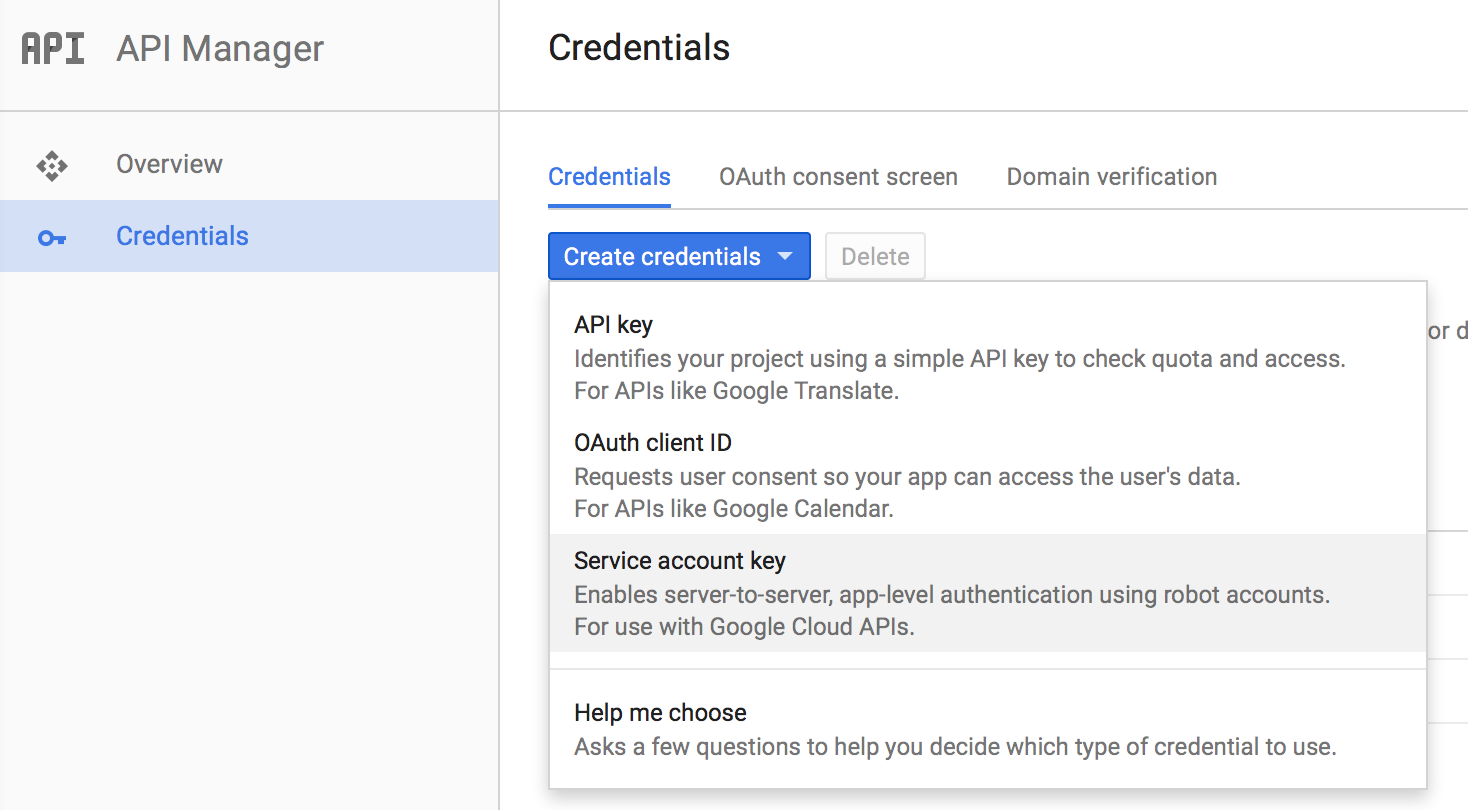 Figure 5 - Create credencials
Fill the form for create a New service Account and choose the key type p12, so you can download
the key file
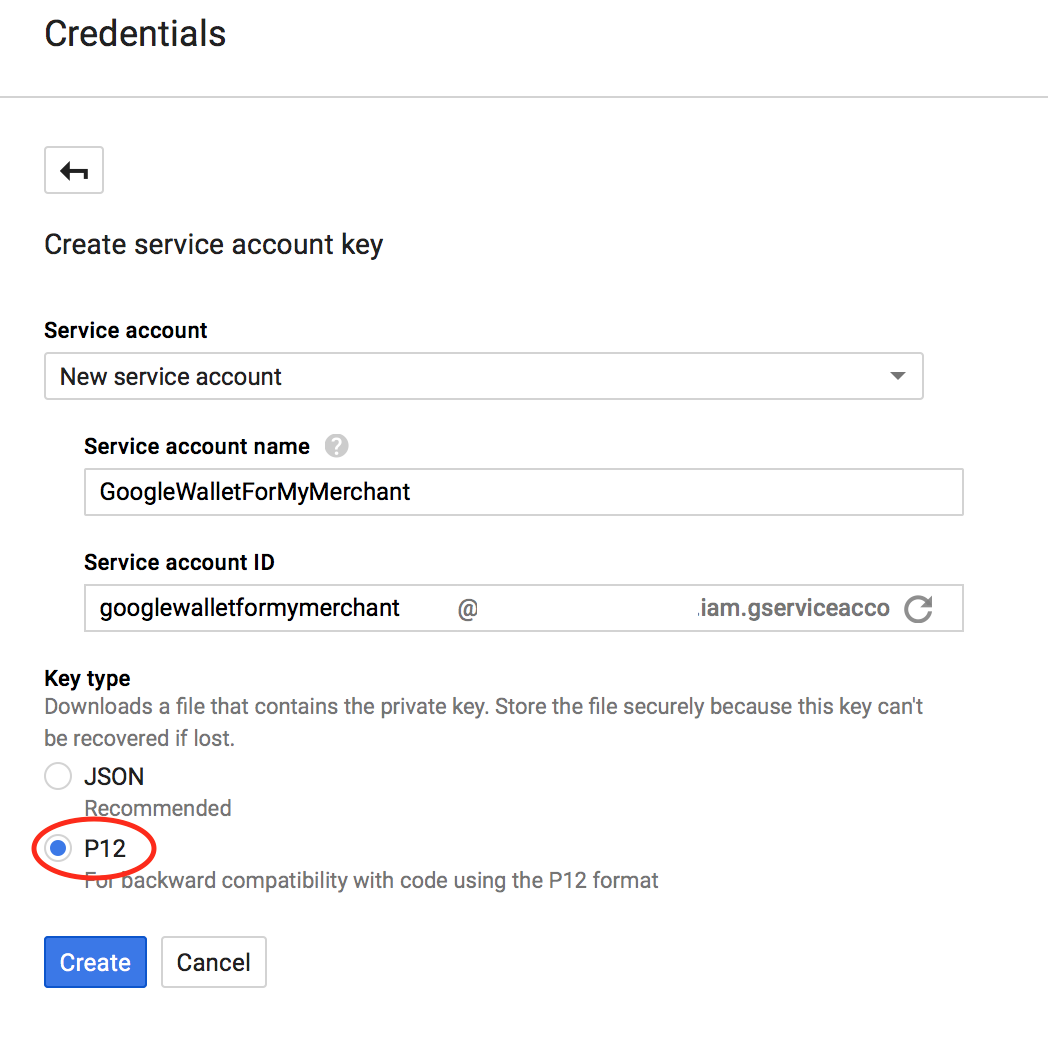 Figure 6 - Enable the service
Right after, a popup will tell you the key name and push a file for you download and store it (this key is going to be used at the Passworks Management Console)
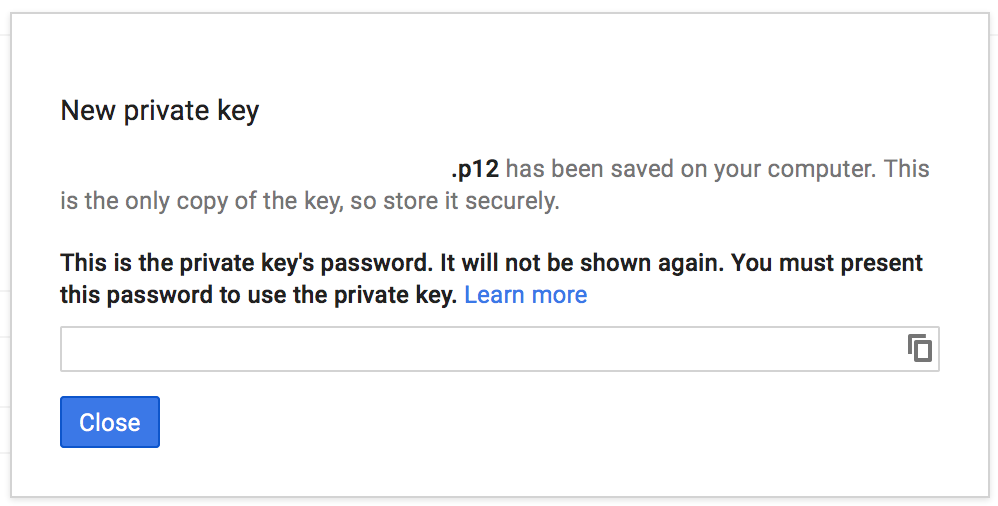 Figure 7 - Enable the service
At the service account keys you should now see the created key:
 Figure 8 - Enable the service
Take the generated email and save it:
googlewalletformymerchant@your-service.iam.gserviceaccount.com
Tie the token to the Android Pay service
Now you have created the support and key for the service, the last step at the Google is to navigate to your Merchant Center (it’ll only be available after the response of the interest form) and share it with the email/key you’ve just created:
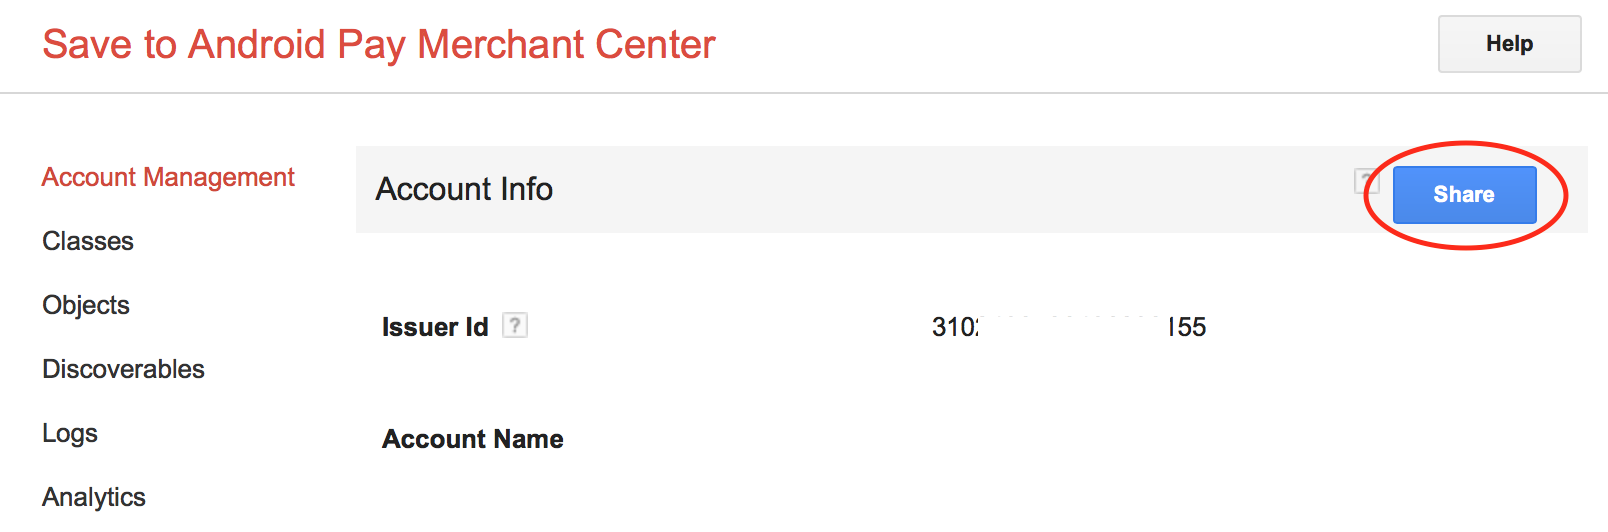 Figure 9 - Share the merchant info
Just add the recently created email as a user and it’s done.
 Figure 10 - Add the created email
Update the credentials at Passworks
The final step is to login at the Passworks Management Console and fill the information as follows:
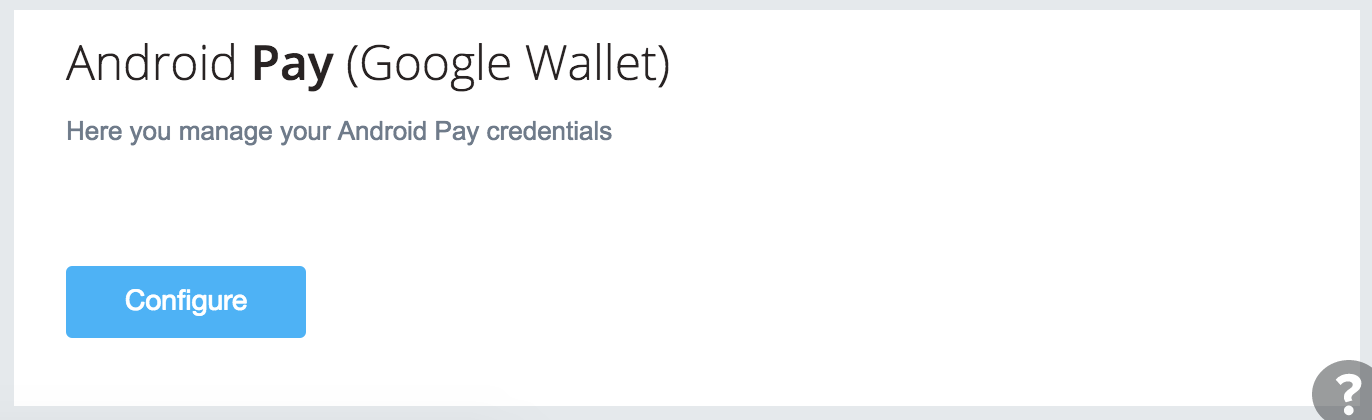 Figure 11 - Android Pay Settings
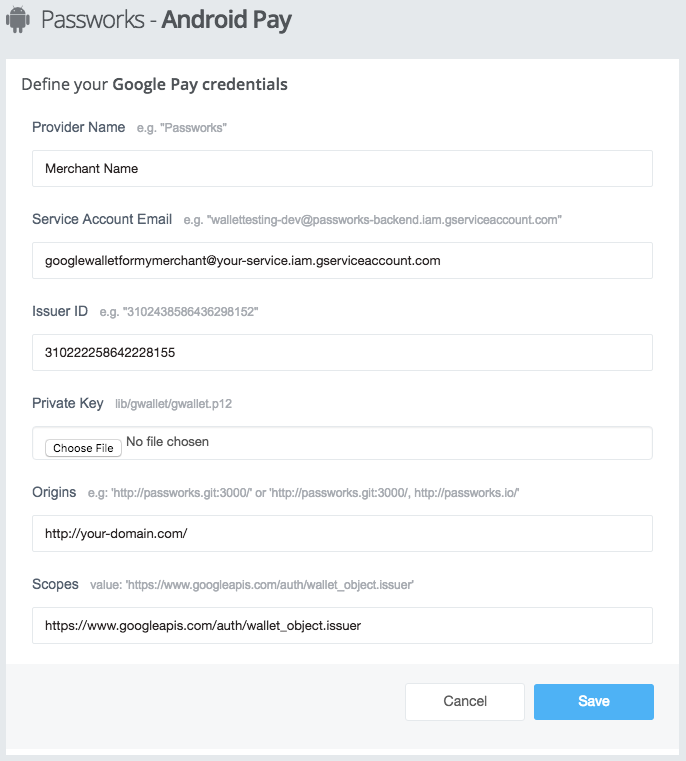 Figure 12 - Android Pay Form
Final thoughts
At this point you will see the options to allow your Organizations to create campaigns with support for Android Pay.
For more information about how to create, install the campaign and passes, please check the Android Pay documents, and if you find any problem, please contact us.